
Here u will learn to convert large video files to relatively smaller mkv format
e.g. u can convert 1.5G.B. movie to mkv format with half sized
#1
#2
#3 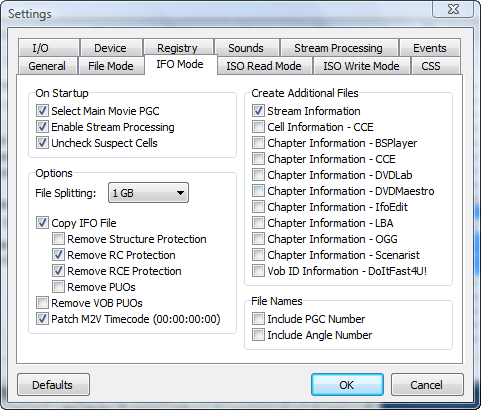 + Click OK
+ Back to the main window, choose Edit / Select Main Movies
( Change the destination if you want )
+ Click OK
+ Back to the main window, choose Edit / Select Main Movies
( Change the destination if you want )
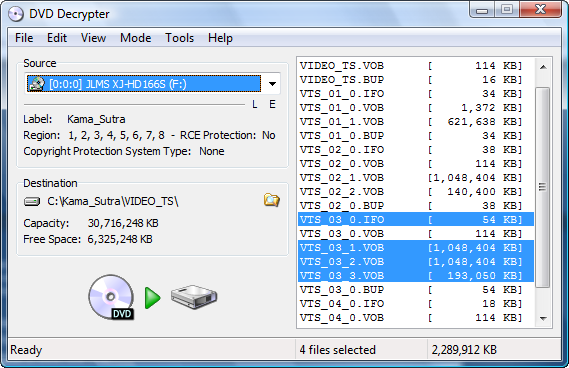 + Click Start
#4
+ Click Start
#4  + DGIndex will start, Go to File / Open / Browse to your project directory / choose all of files , like
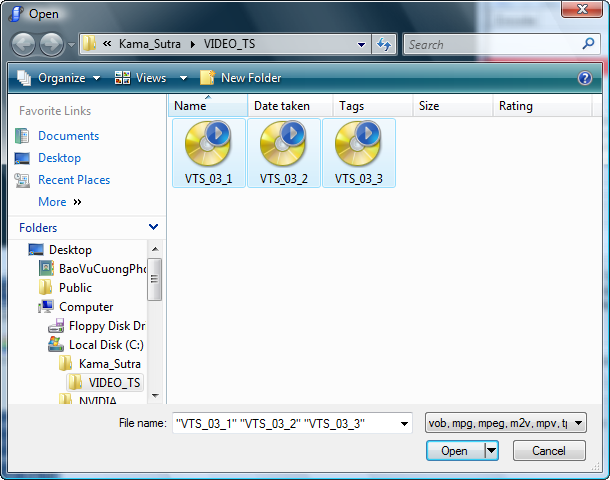 + Click Open
+ On this new window, you choose the first VOB file, like :
+ Click Open
+ On this new window, you choose the first VOB file, like :
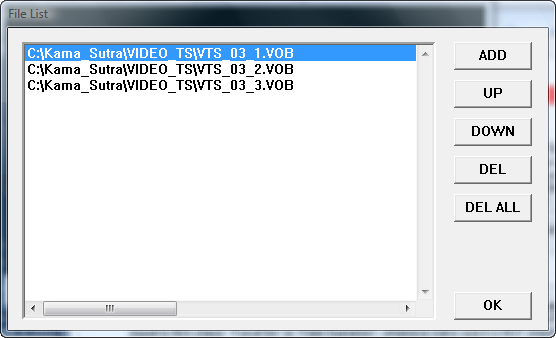 + Then click OK
+ New window appear, hit F5, you 'll see :
+ Then click OK
+ New window appear, hit F5, you 'll see :
 + Go to the Video menu and choose
- YUV / RGB / PC Scale
- iDCT Algorithm - IEEE-1180 Reference
+ Finally, go to the File menu / Save Project
#5
+ Go to the Video menu and choose
- YUV / RGB / PC Scale
- iDCT Algorithm - IEEE-1180 Reference
+ Finally, go to the File menu / Save Project
#5 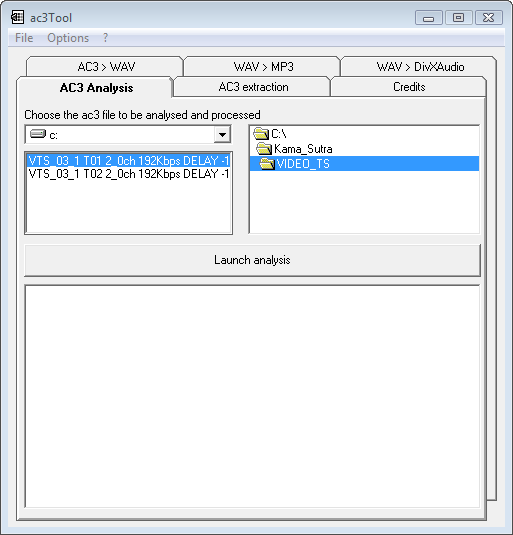 + Then click the Launch Analysis button
(A dos windows appear, just wait for a few minutes till it done)
+ Click the AC3 > WAV tab , choose like this
+ Then click the Launch Analysis button
(A dos windows appear, just wait for a few minutes till it done)
+ Click the AC3 > WAV tab , choose like this
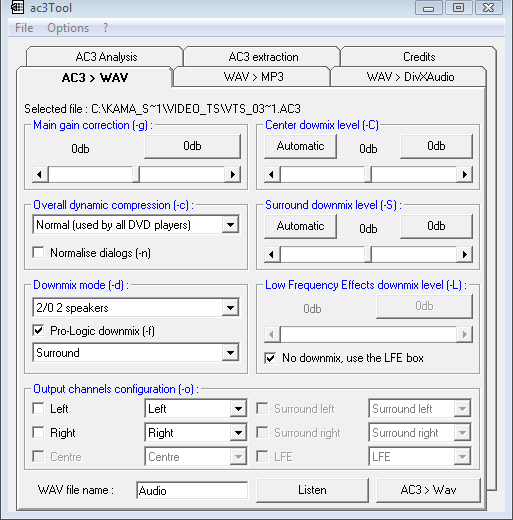 + Click the AC3 > WAV, close Ciler's AC3 tool when it done.
#6
+ Click the AC3 > WAV, close Ciler's AC3 tool when it done.
#6 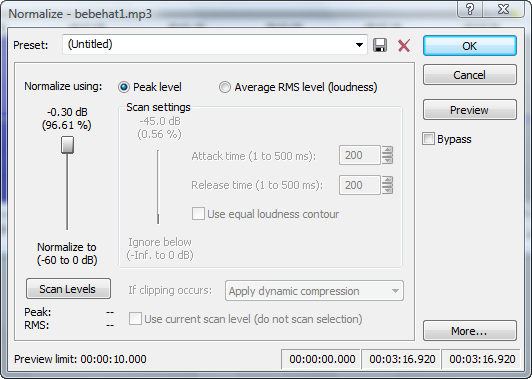 + Click OK
When it's done, go to the Process menu / Resample
+ Click OK
When it's done, go to the Process menu / Resample
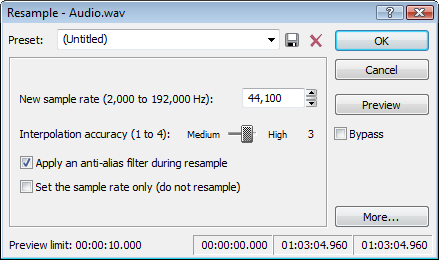 + Click OK
+ Finally, go to File menua, choose Save
#7
+ Click OK
+ Finally, go to File menua, choose Save
#7 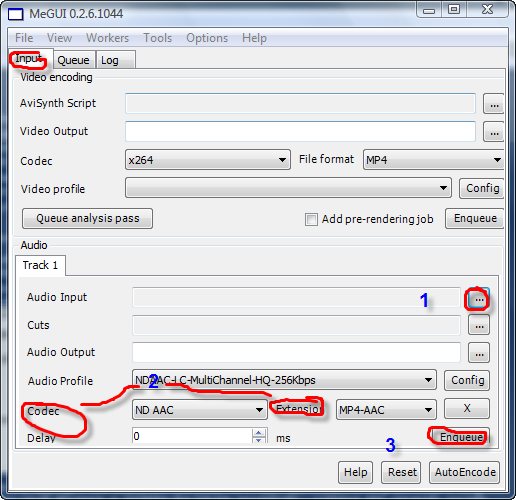 + Then click Enqueue
+ Go to the Queue tab,
+ Then click Enqueue
+ Go to the Queue tab,
 + Click Start. Wait till it's done.
#8
+ Click Start. Wait till it's done.
#8 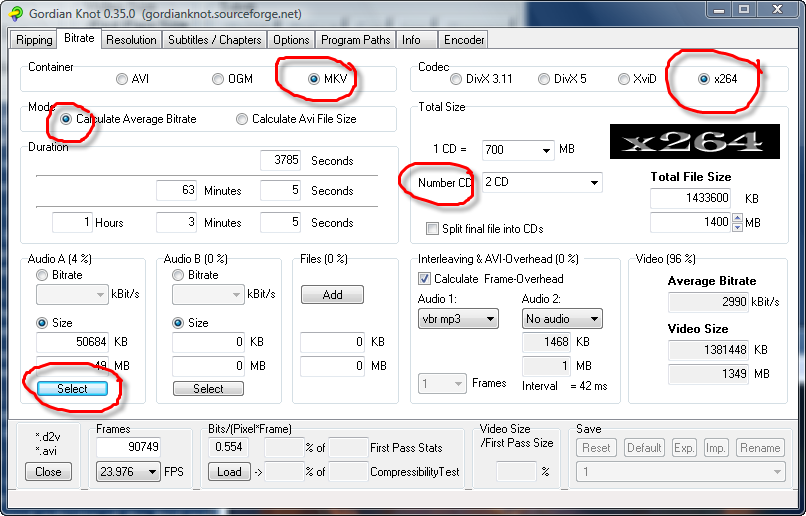 + Select the Resolution tab, choose like this :
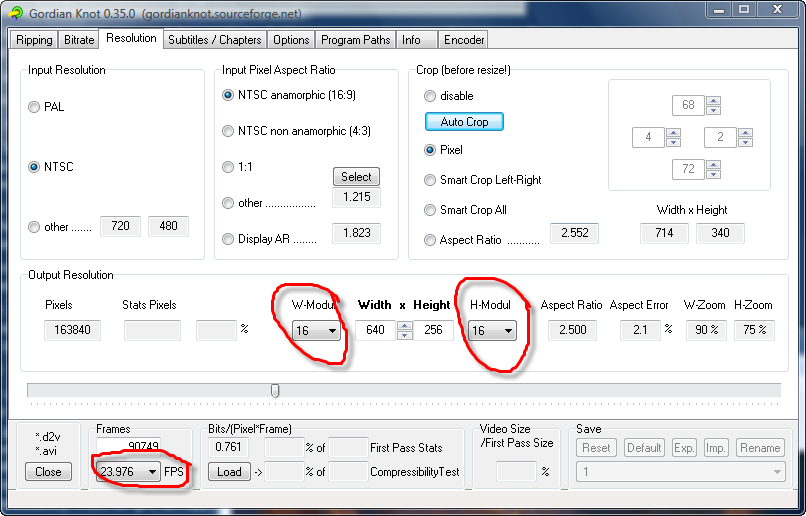 + Choose save and encode in the preview window
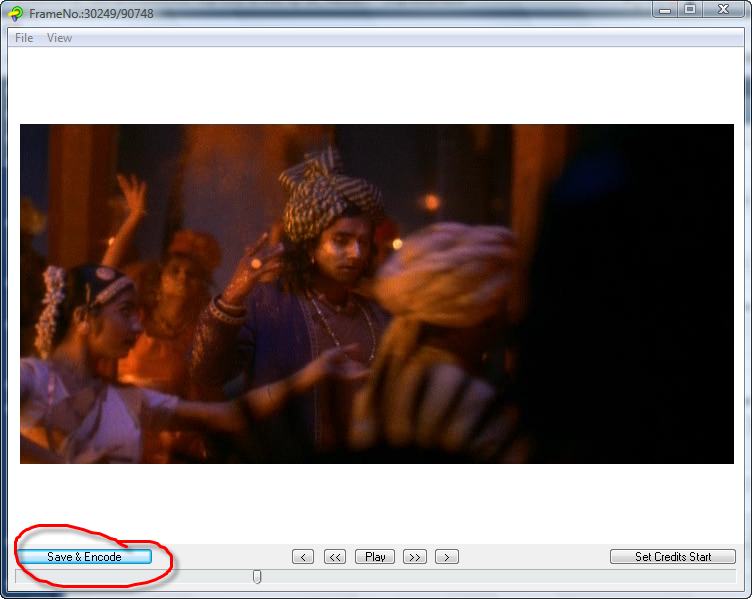 + A new window appear, click Save button
 + Back to MEGui
#9
+ Back to MEGui
#9  + Go to Tools / Bitrate Calculator , choose like :
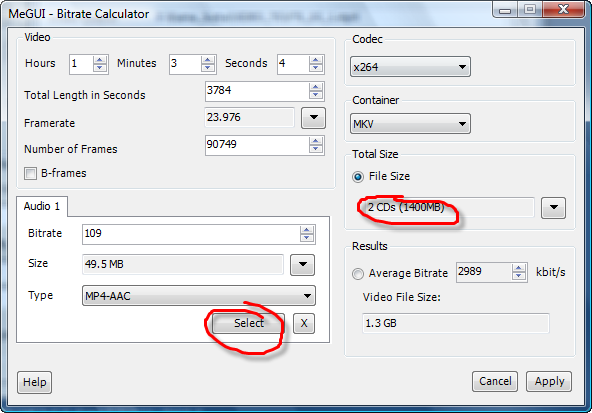 + Click Apply
+ Back to the main MEGui window, click the Enqueue button in the Video area
+ Switch to the Queue tab
+ Click the Start button
#10
+ Click Apply
+ Back to the main MEGui window, click the Enqueue button in the Video area
+ Switch to the Queue tab
+ Click the Start button
#10 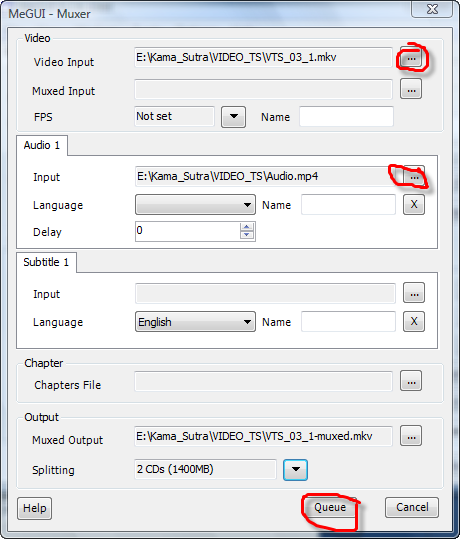 You now have a high-quality standards-compliant H.264/AVC/AAC/MP4 video made by yourself.
 #11
#11  #12
#12  Too many tools, Alex ^o^ is there 1 tool to do it all?
 #13
#13